> ## Documentation Index
> Fetch the complete documentation index at: https://docs.littleregistry.com/llms.txt
> Use this file to discover all available pages before exploring further.
# Add an 'Add to Registry' button
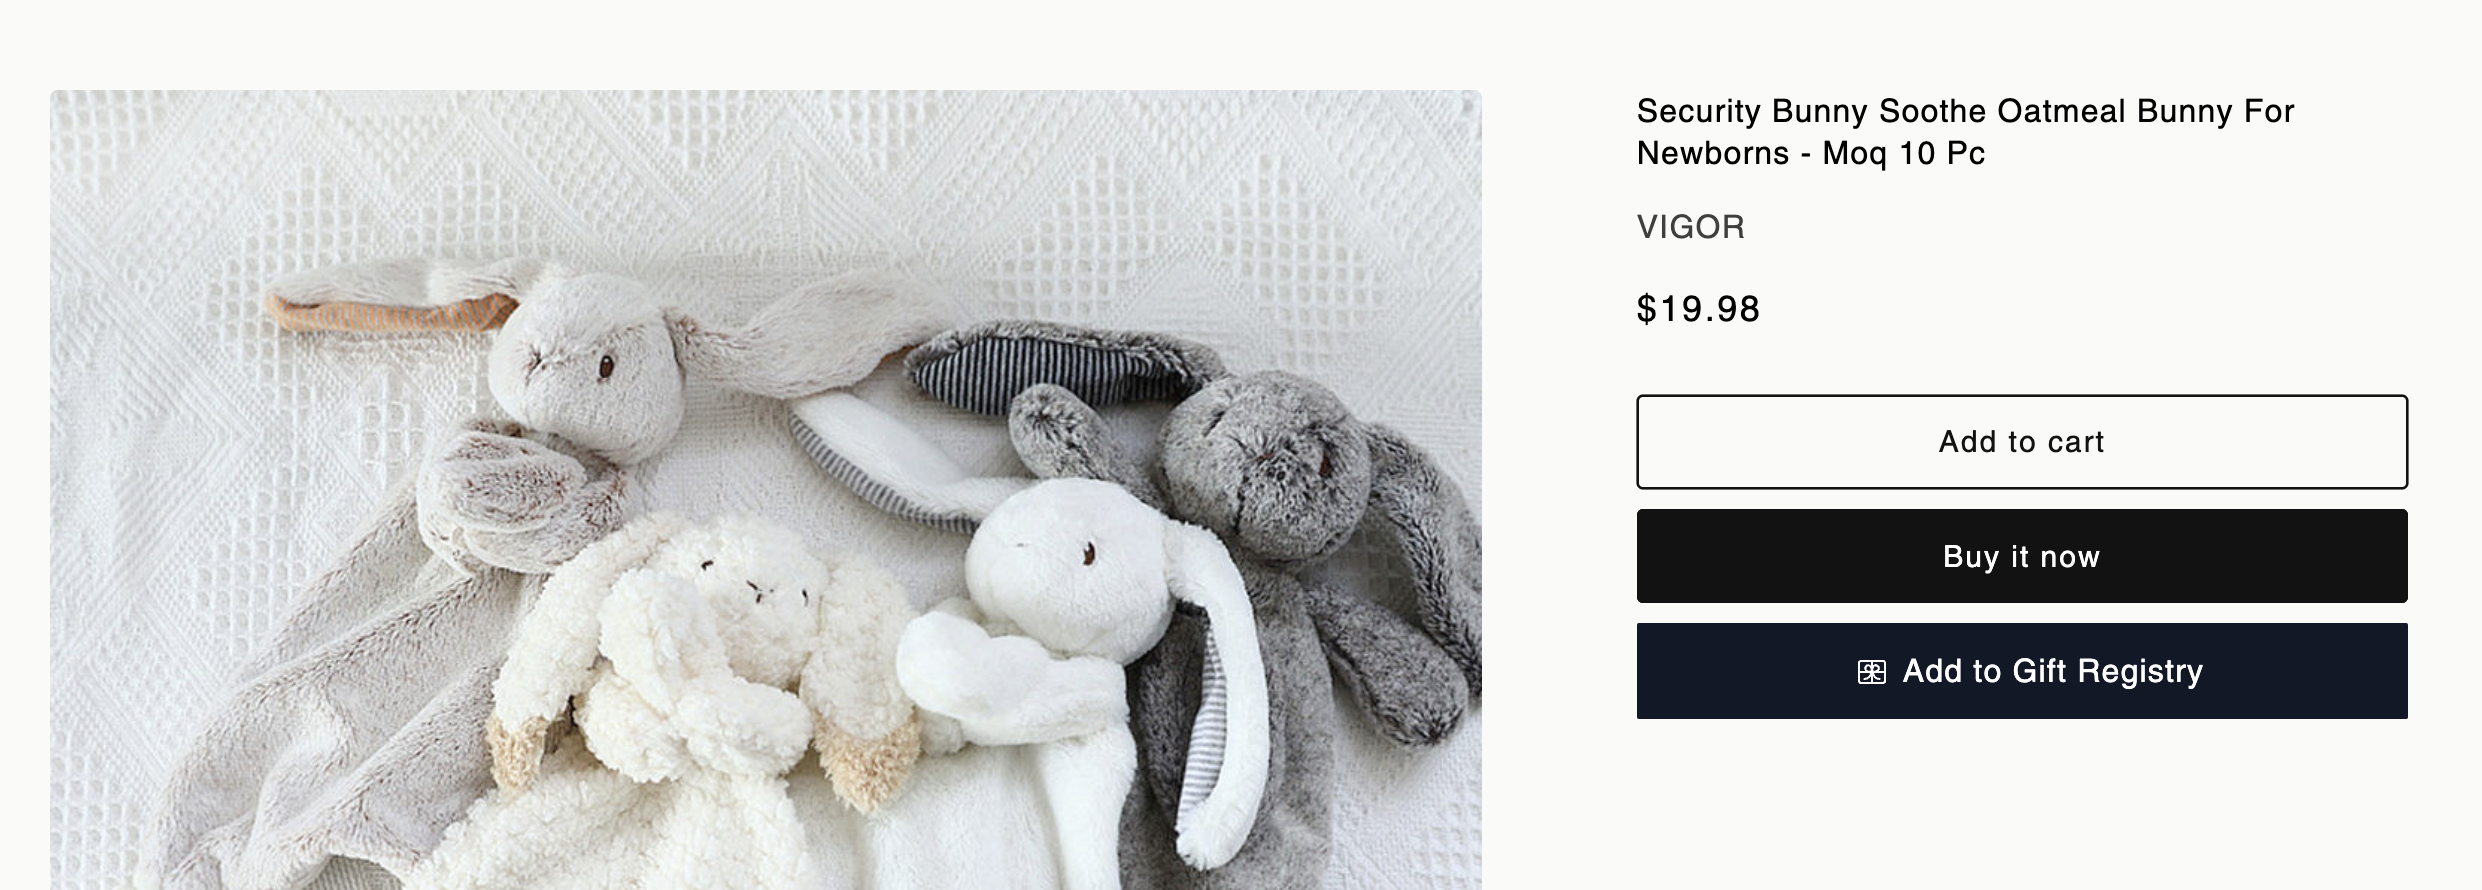
The **Add to Registry** button lets shoppers add products directly to their gift list. By default, it appears on all product pages.
## Adding the button
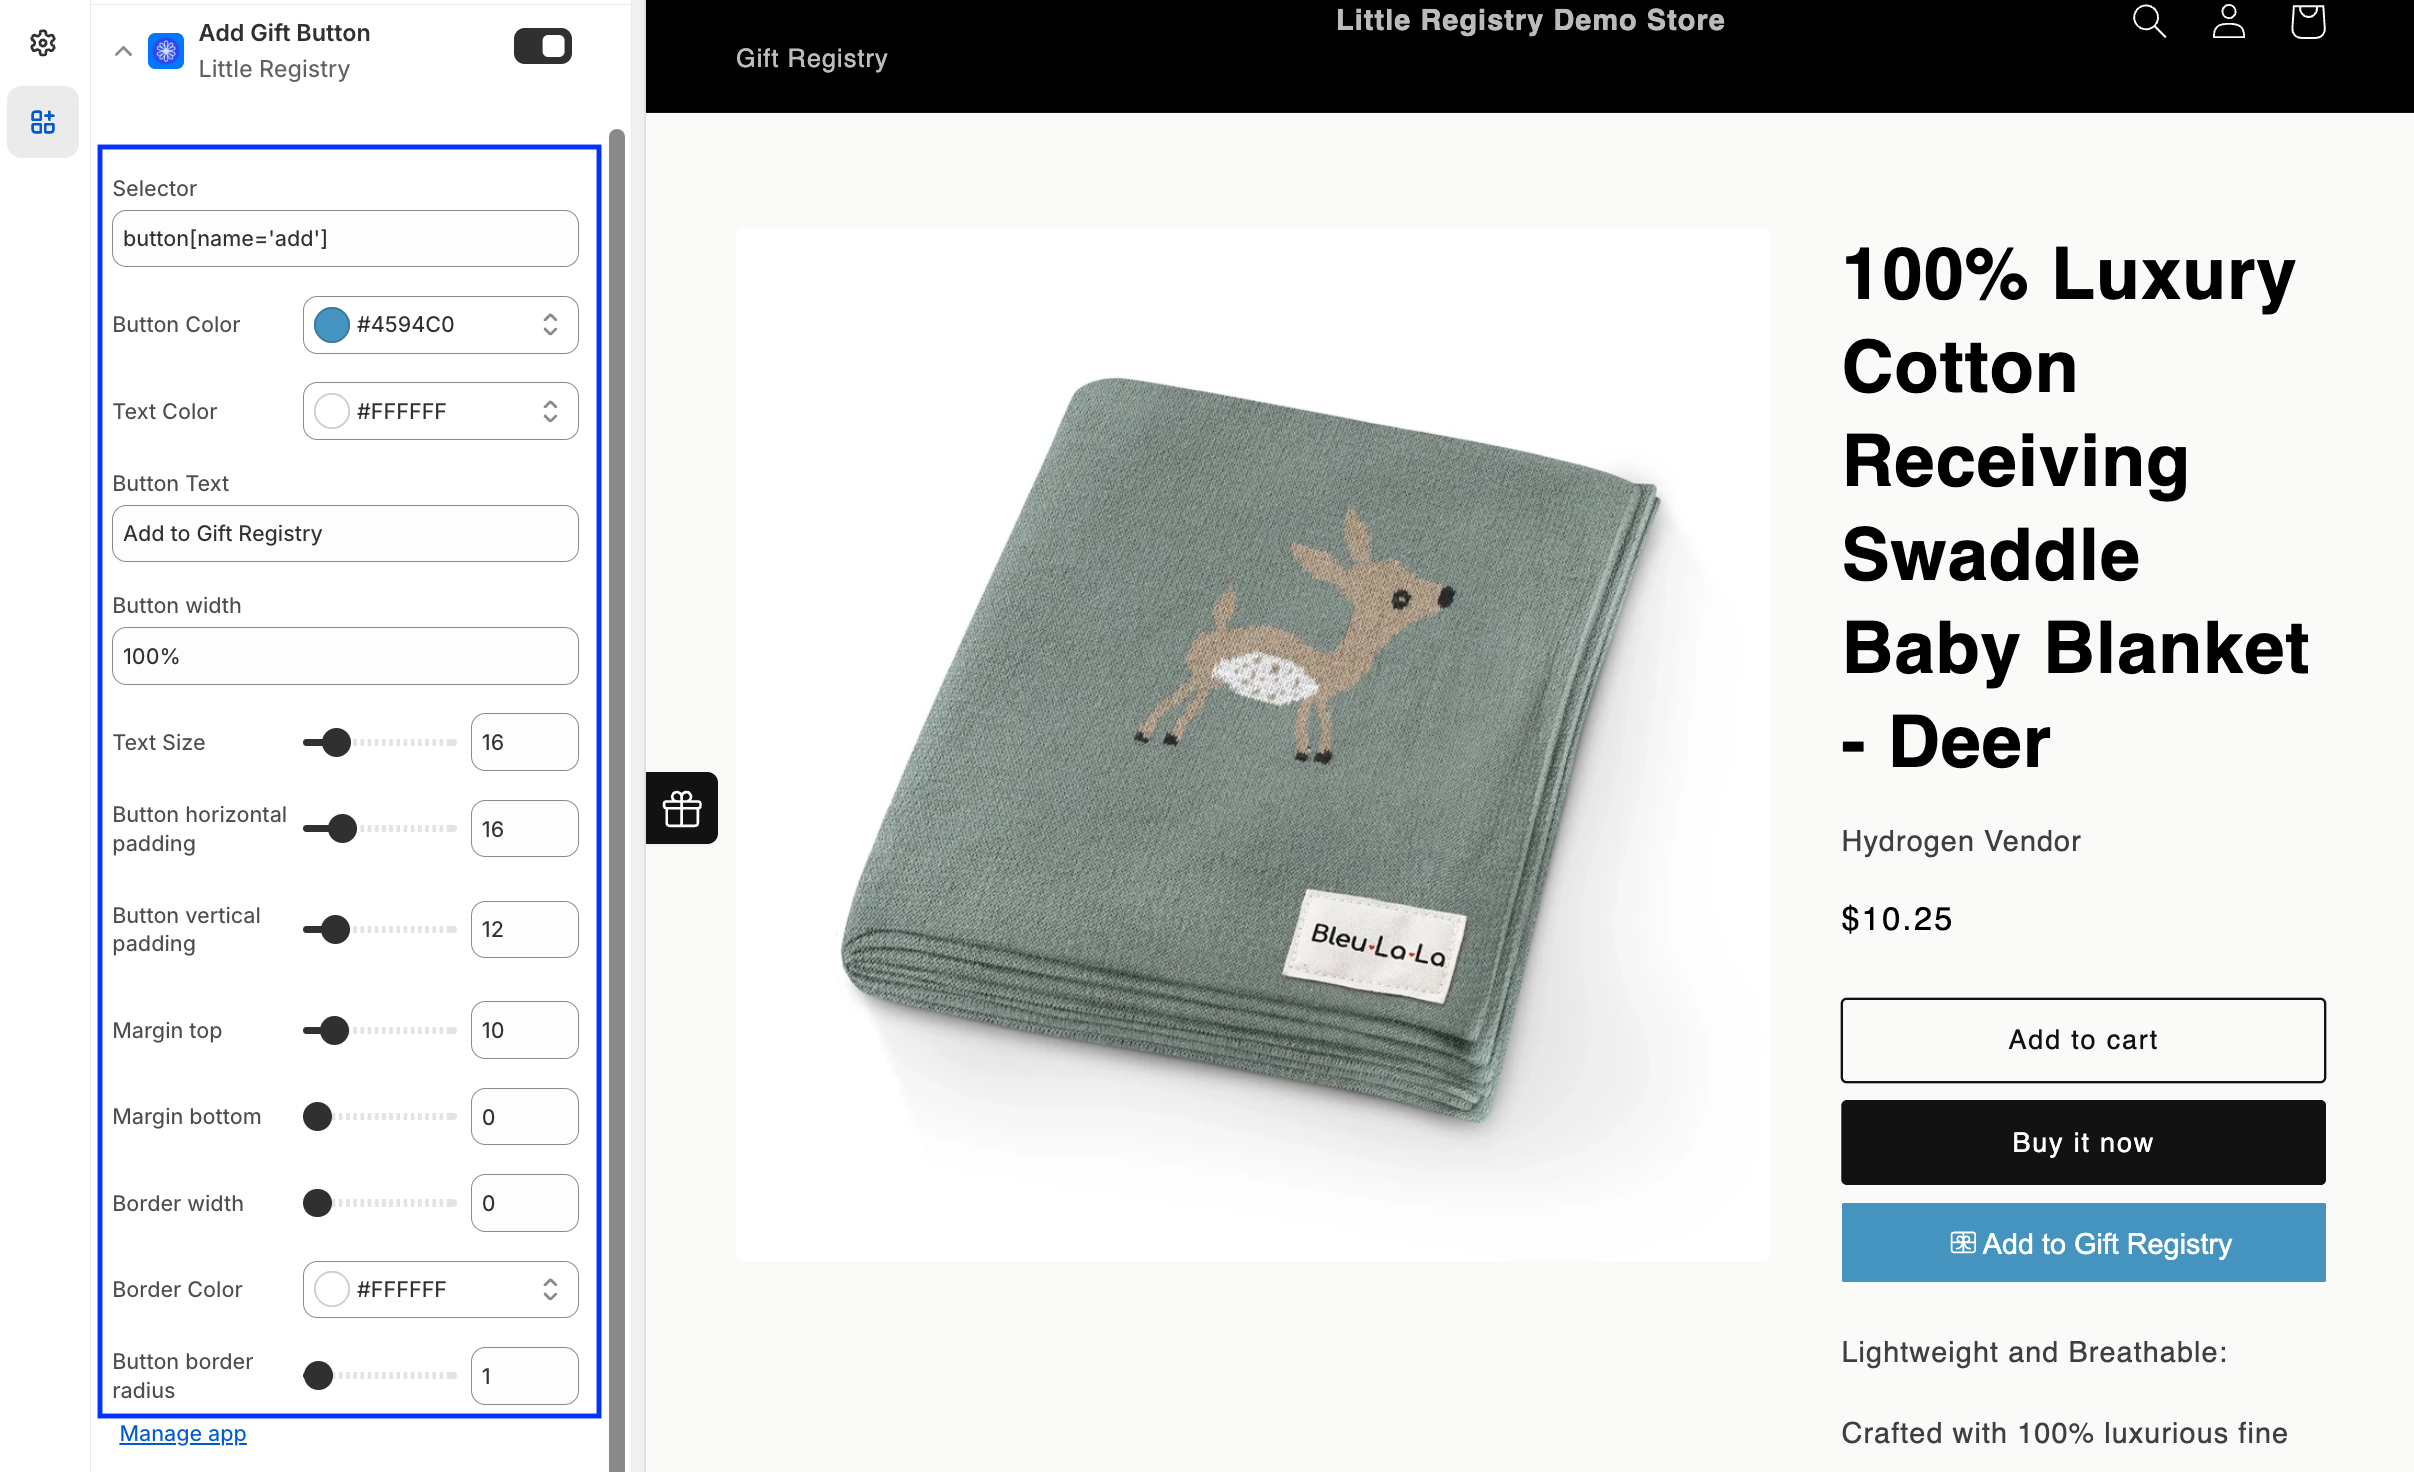
Hit Save. The button will appear under the Add to Cart button.
Email us at [hello@littleregistry.com](mailto:hello@littleregistry.com) for help with custom themes.
## Customizing the button
You can adjust the button’s look to match your store:
* Change button and text colors
* Edit the button label (e.g., “Add to Registry,” “Add to List”)
* Adjust width and size
* Add borders
* Round the corners
## Choose Where to Display the Button
By default, the button shows on all product pages. You can also limit it to specific collections. For example, only in your **Baby & Kids** collection.
To update this, go to the app’s **Settings** page and choose where you’d like the button to appear.
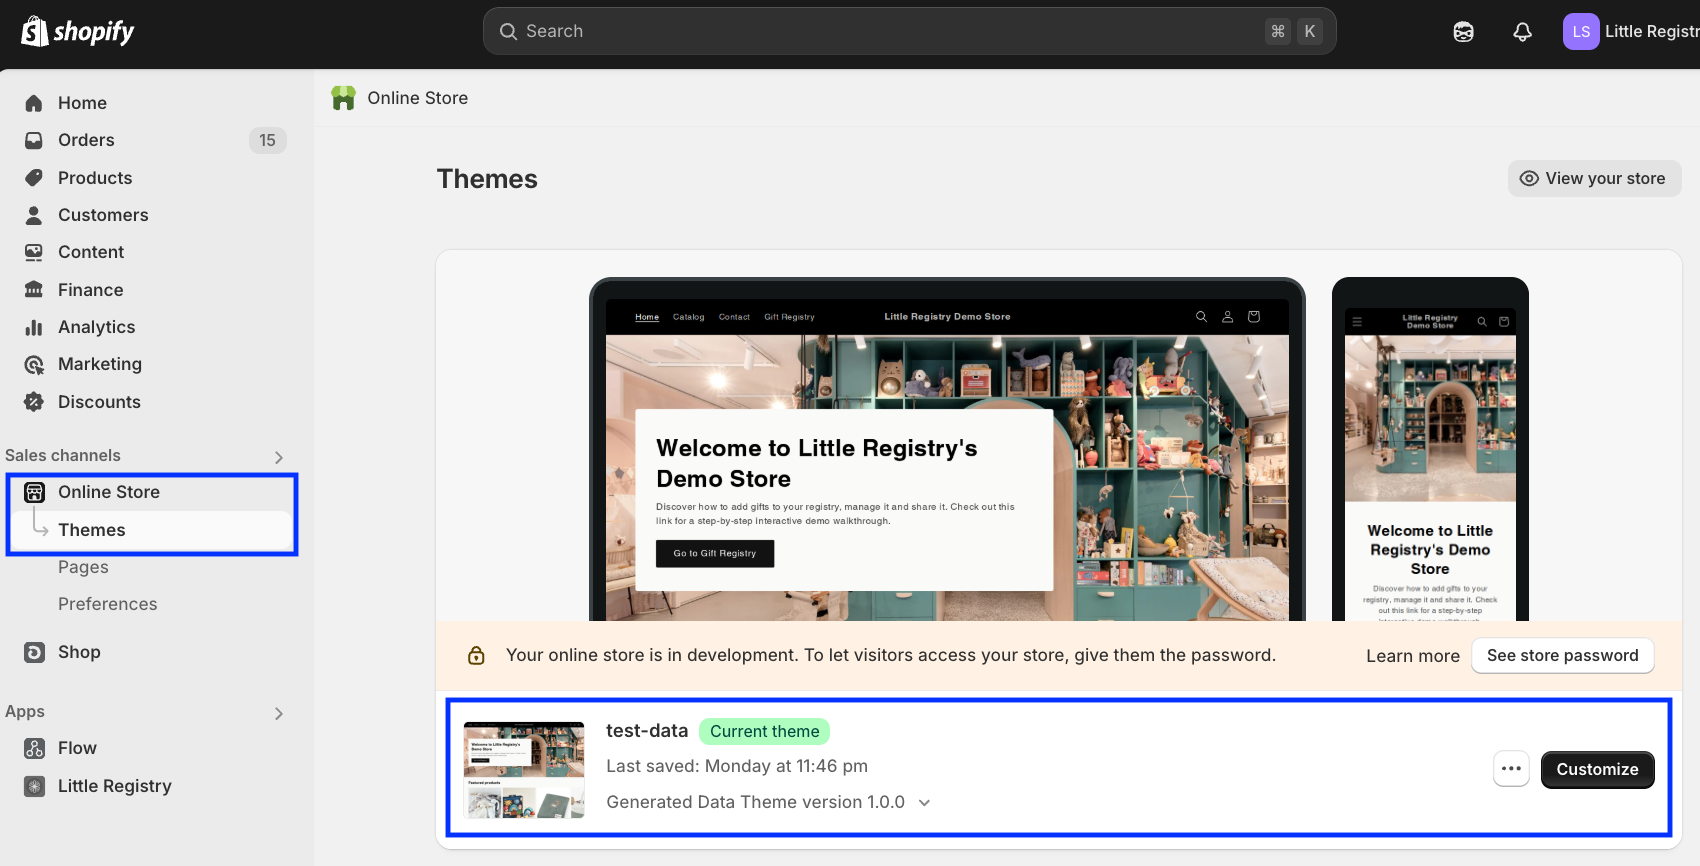
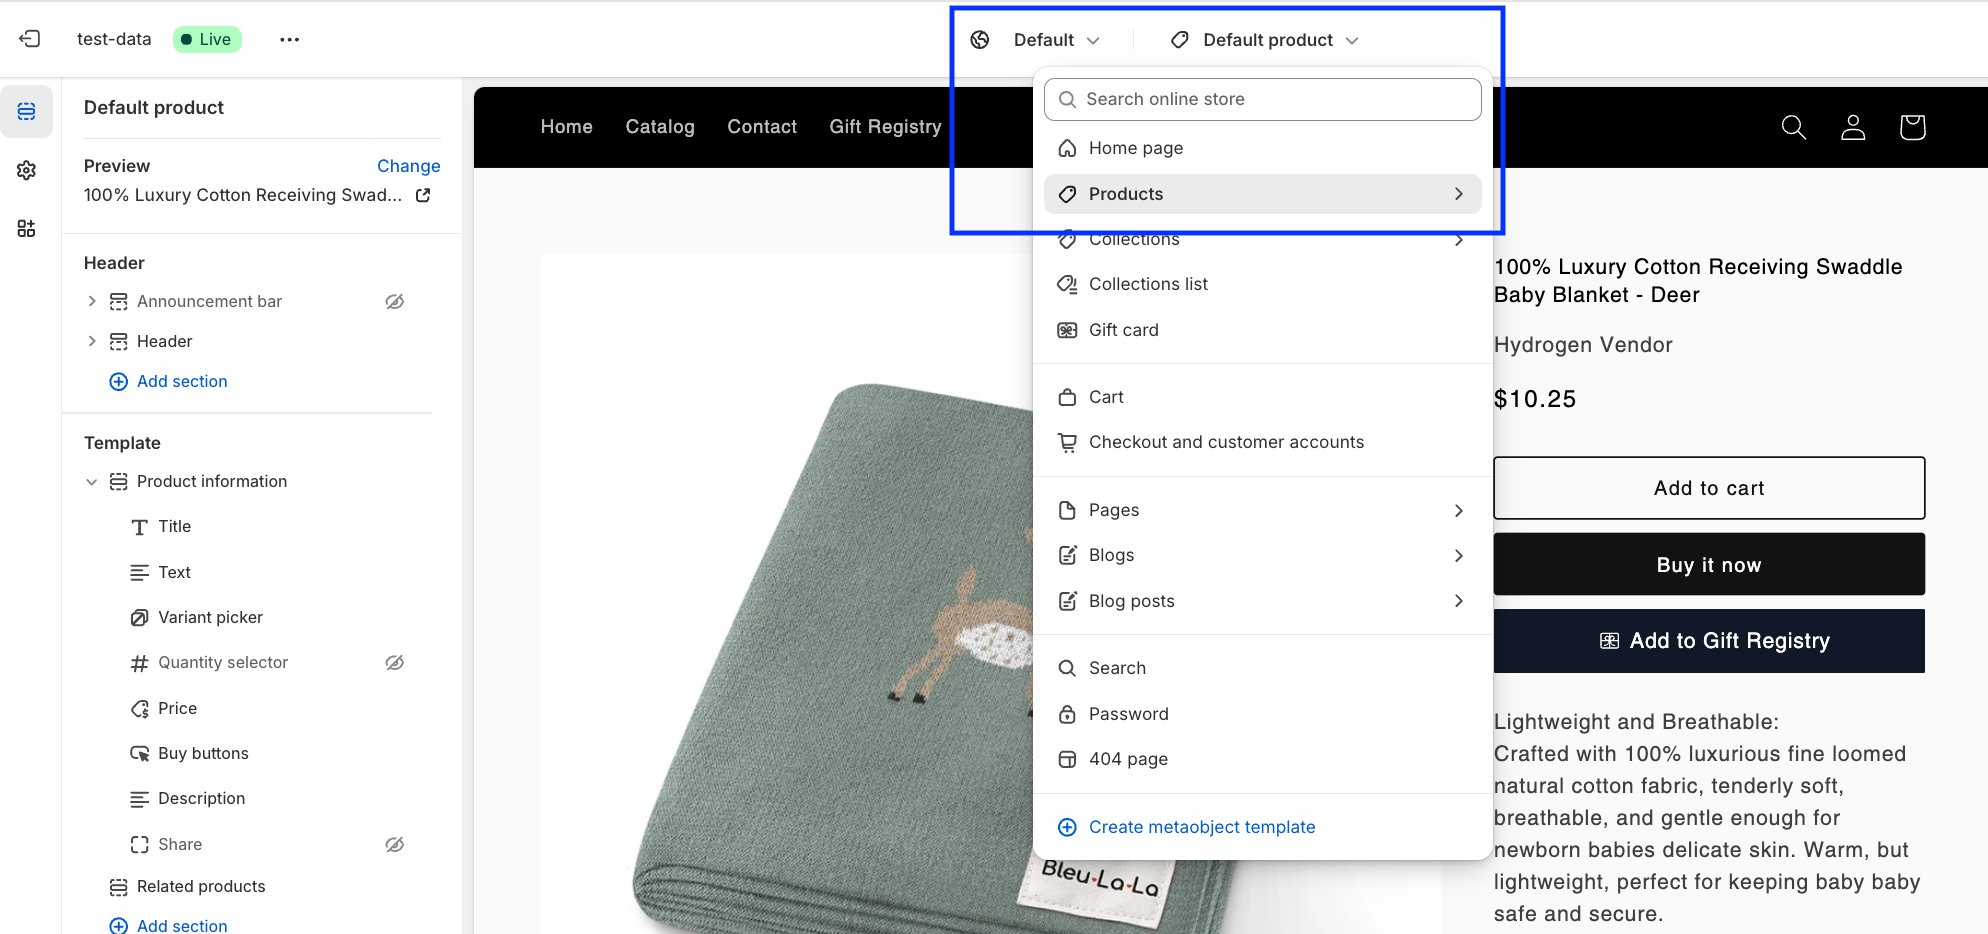
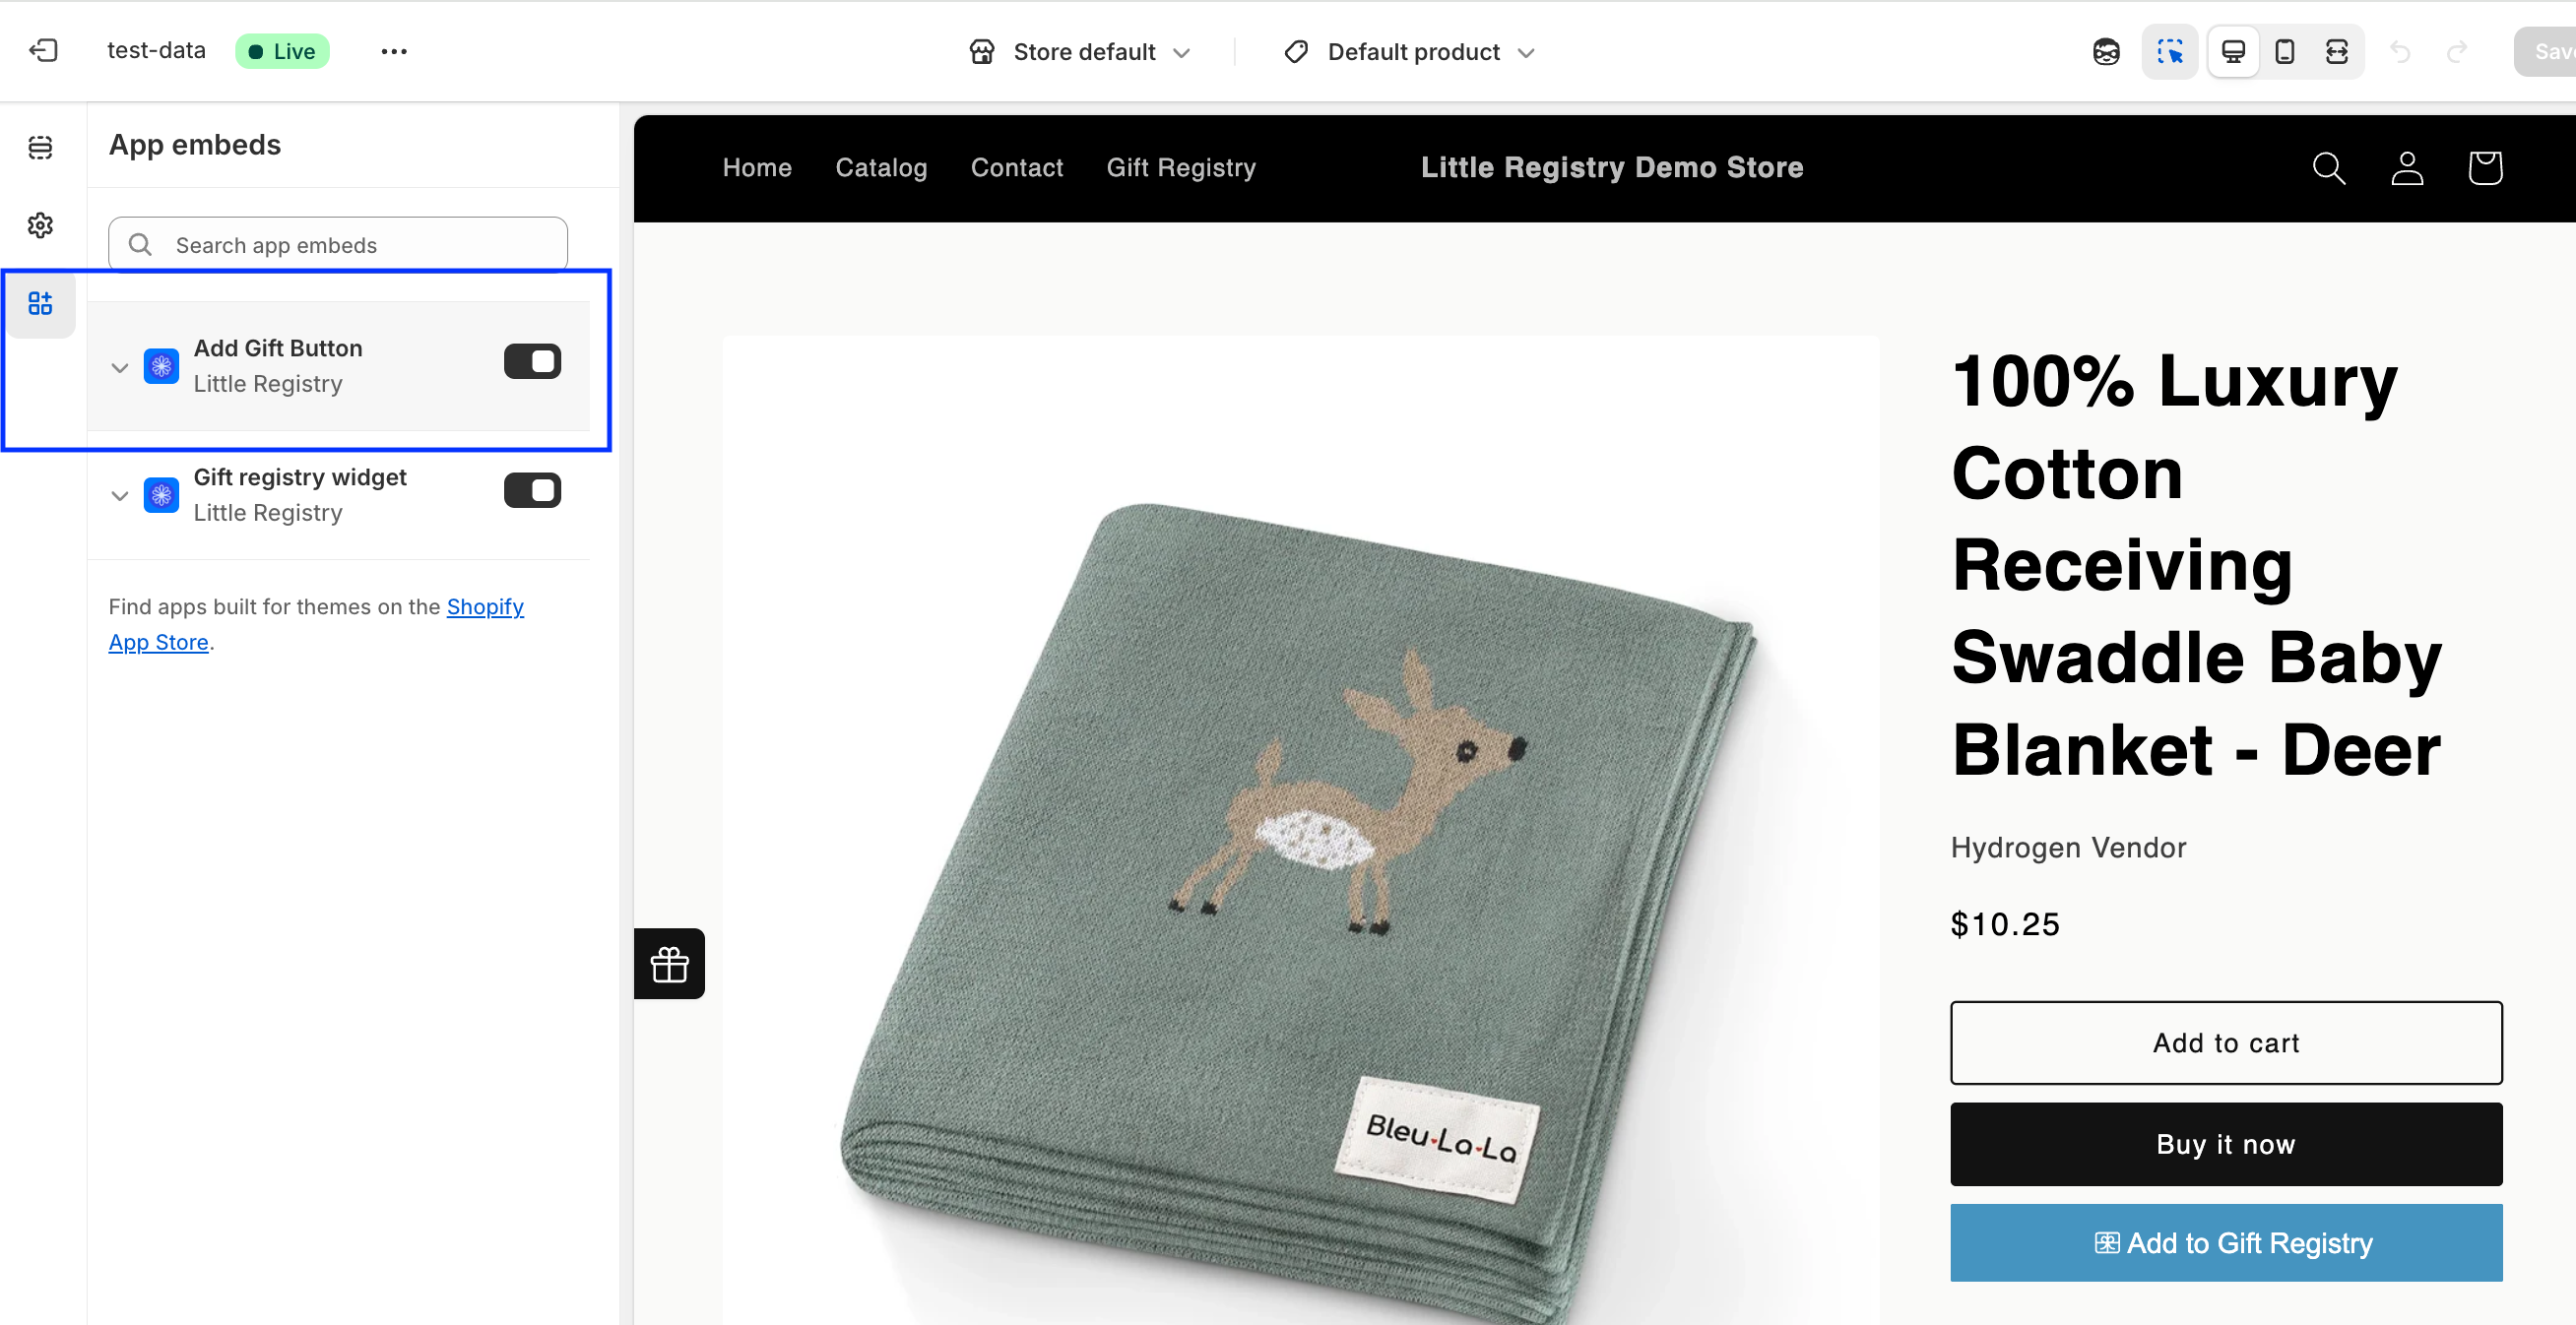
 ## Adding the button
 ## Choose Where to Display the Button
By default, the button shows on all product pages. You can also limit it to specific collections. For example, only in your **Baby & Kids** collection.
To update this, go to the app’s **Settings** page and choose where you’d like the button to appear.
## Choose Where to Display the Button
By default, the button shows on all product pages. You can also limit it to specific collections. For example, only in your **Baby & Kids** collection.
To update this, go to the app’s **Settings** page and choose where you’d like the button to appear.